
WhatsApp Cloud API Integration: Generating Access Token With Facebook Login
Use Case
You, the tech genius that you are, like to know all things. As such, you like to have options. For example, you may want to generate a permanent access token for WhatsApp Cloud API (We taught you this!) but you may still crave even more freedom because we know hard coding access tokens isn’t a good practice. What to do? Who to go to? Well, us of course! Our developers will show you how to get an access token by using a Facebook Login so that you have multiple options on access tokens (because we know how much you love your free will). On to more freedom!
Introduction
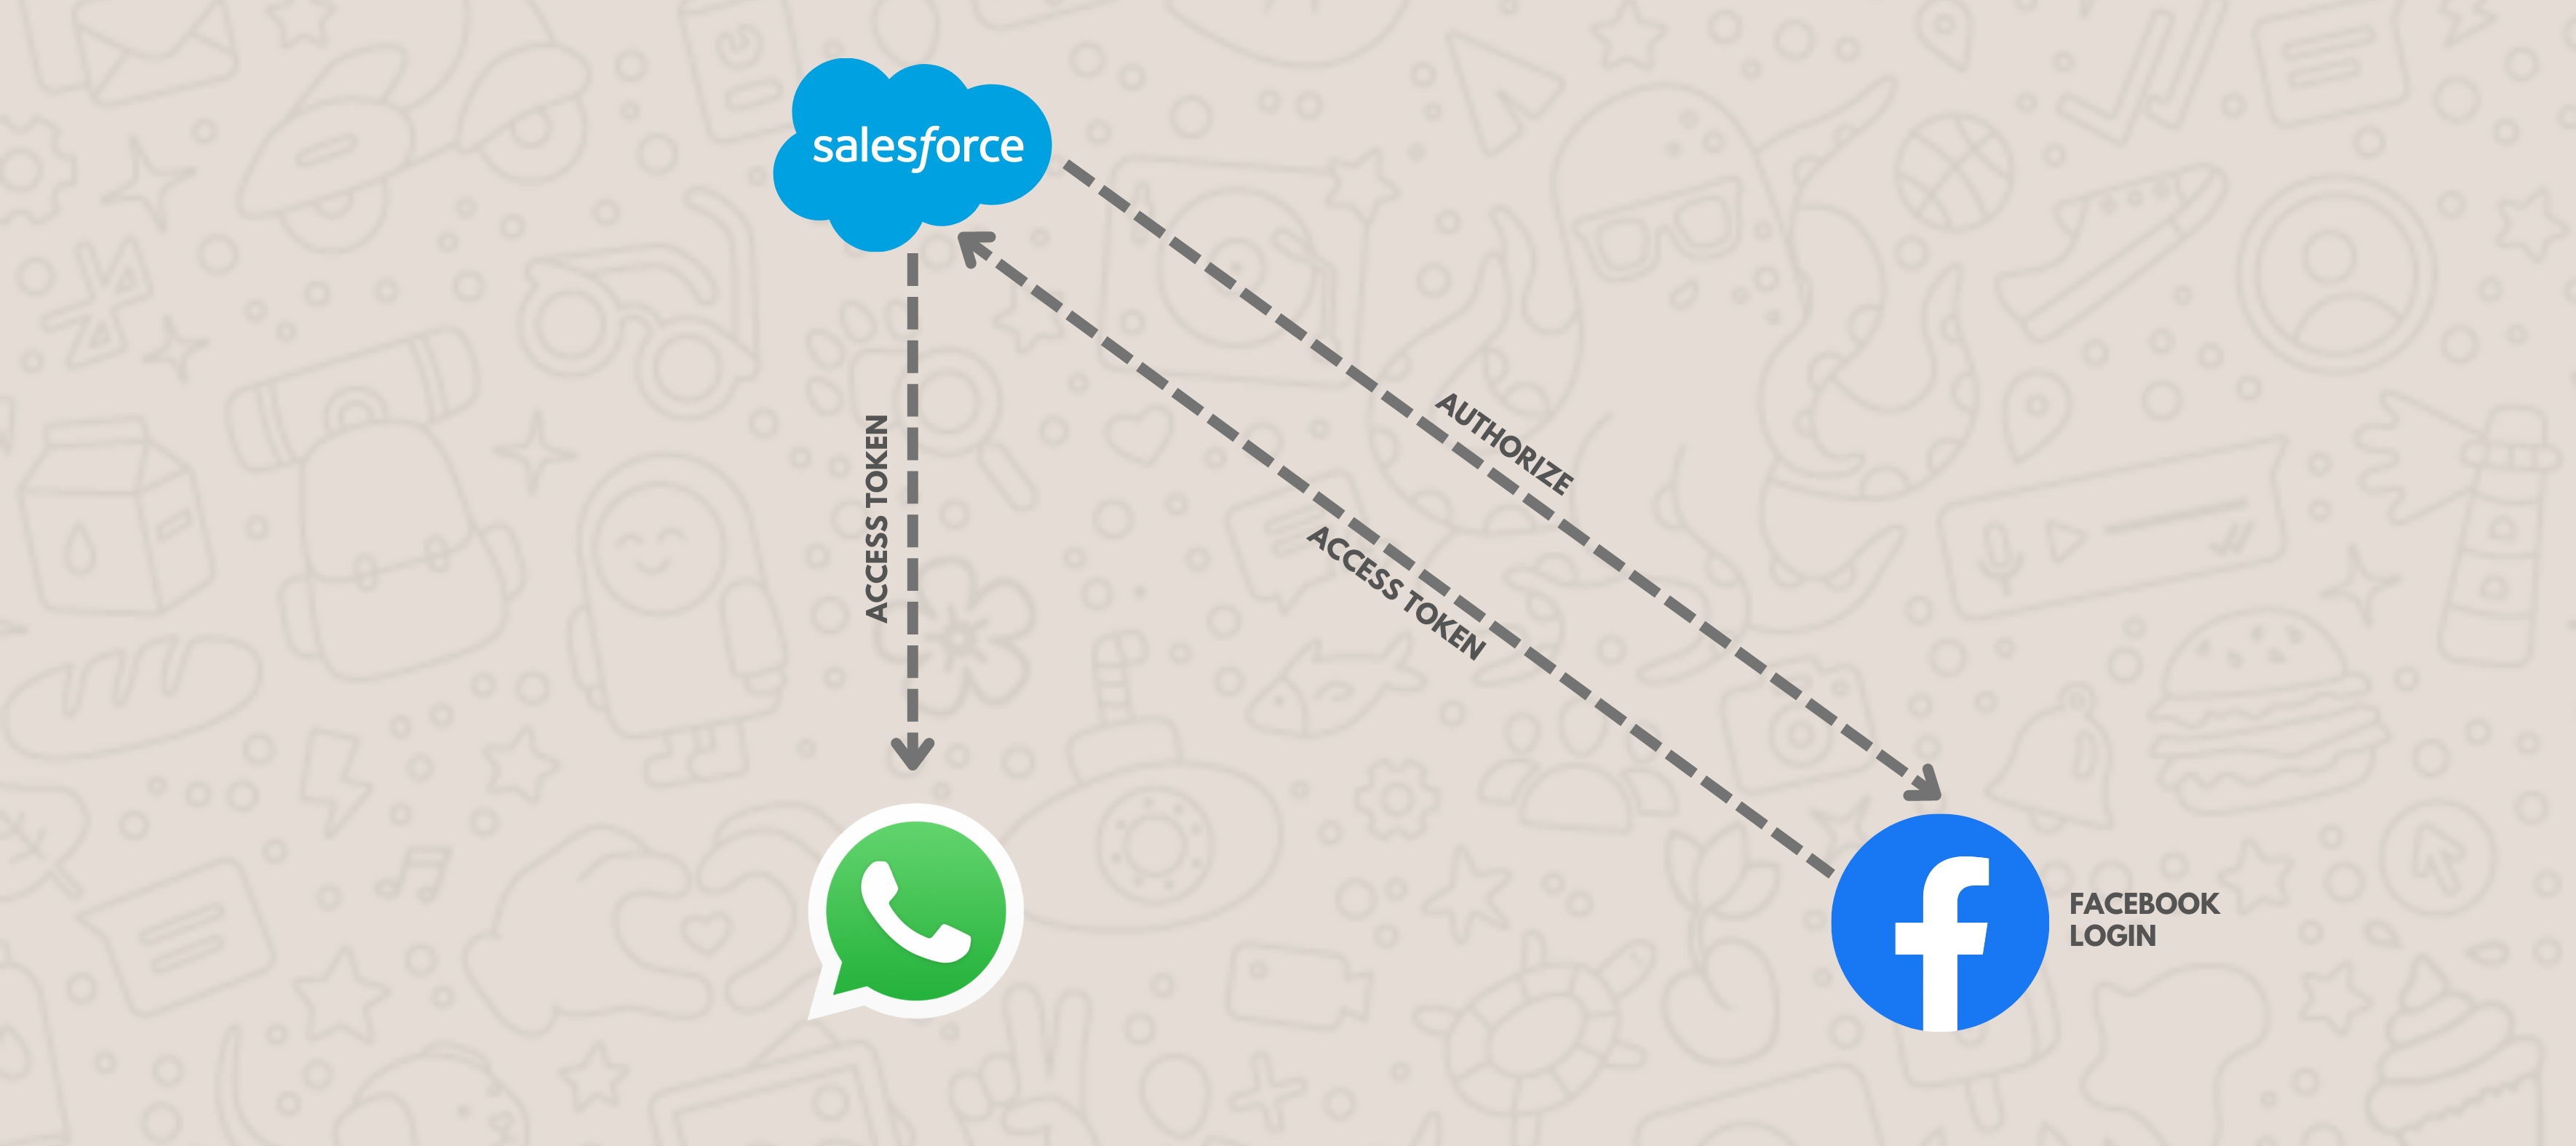
To access WhatsApp Cloud API, you need a User Access Token. We have already seen how to Generate a Permanent Access Token from Business Settings. Now in this blog, we will see how to generate access tokens programmatically using Facebook Login.
User Access Token
This User Access Token is needed any time we call the API to read, modify or write a specific person's data on their behalf. User Access Tokens are generally obtained via a login dialog and require a person to permit your app to obtain one. Let's see this in action using a Facebook login.
Set up Facebook Login
Login to Meta Developers account. Go to My Apps, and select your App from the Apps page.
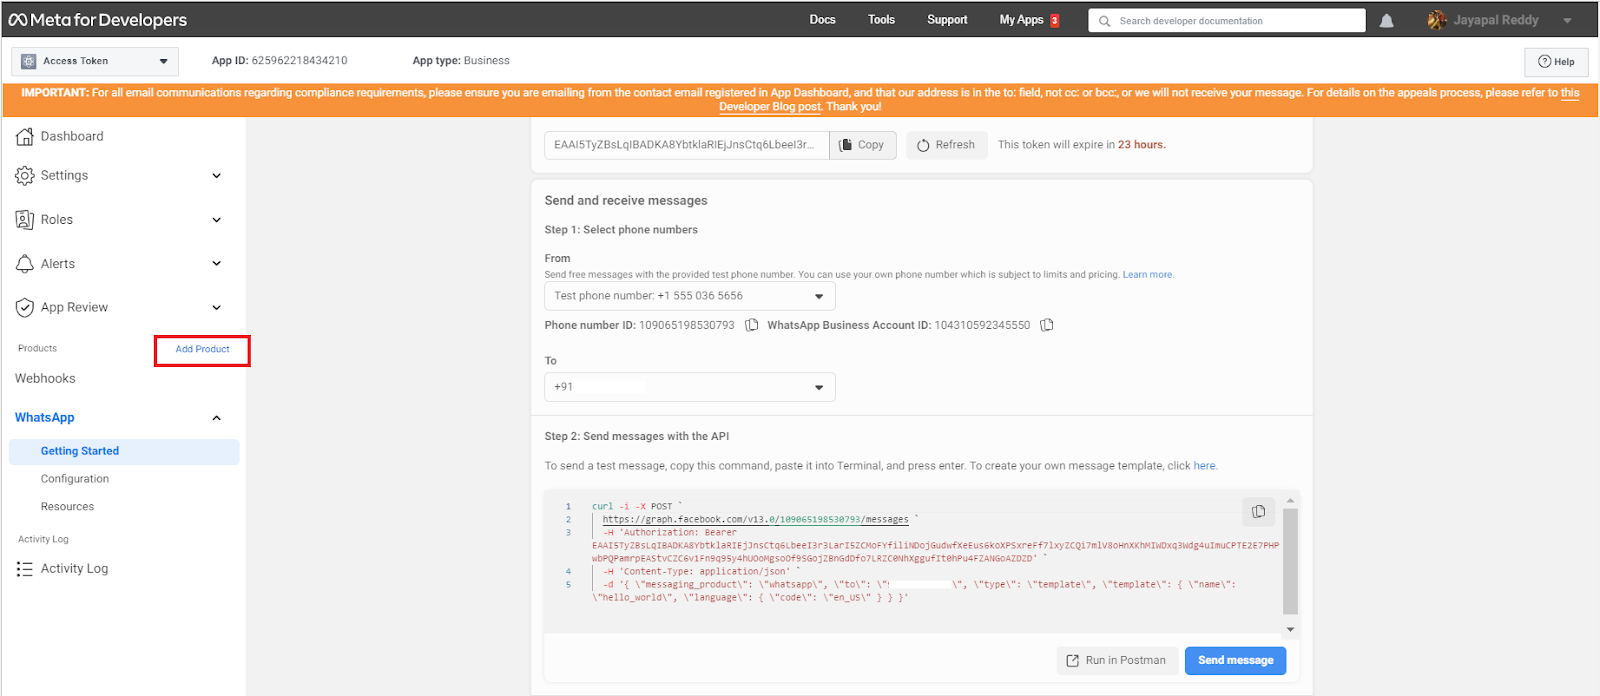
Click on Add Product highlighted in the above screenshot. This takes you to the Meta Dashboard, where you can see all the available products.
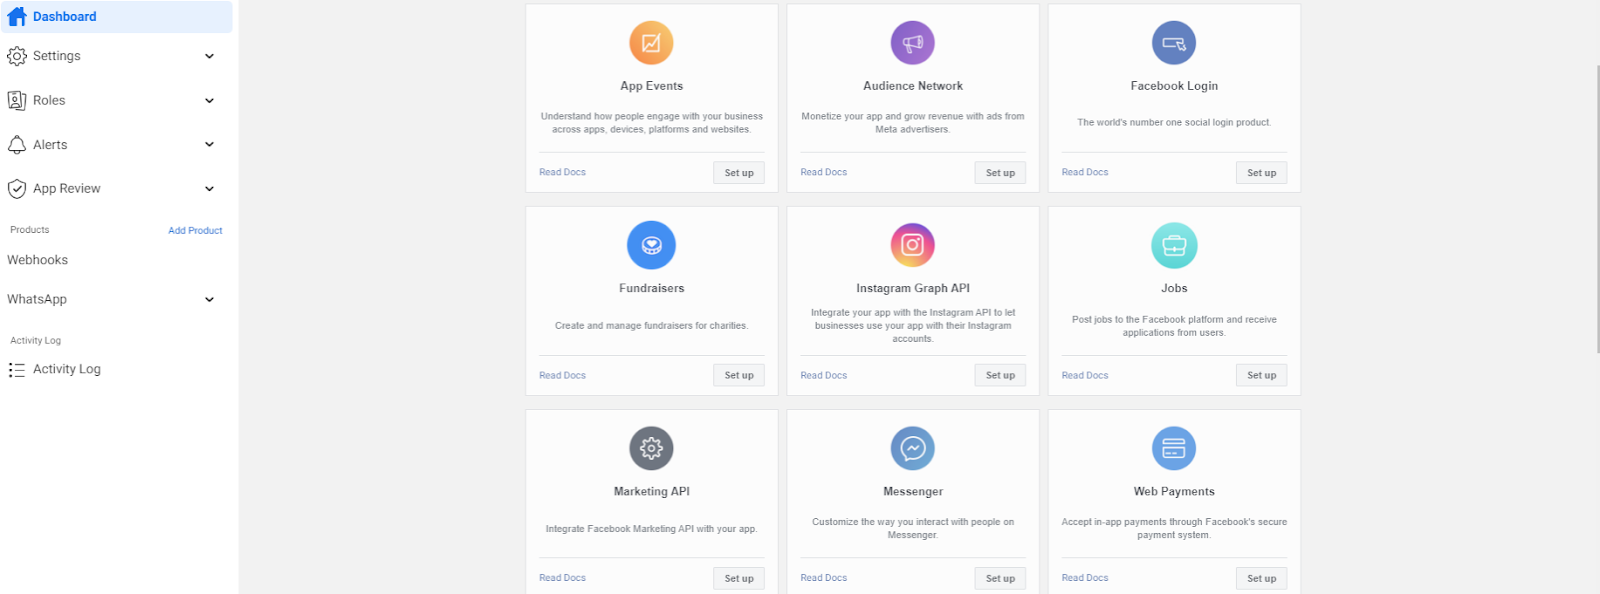
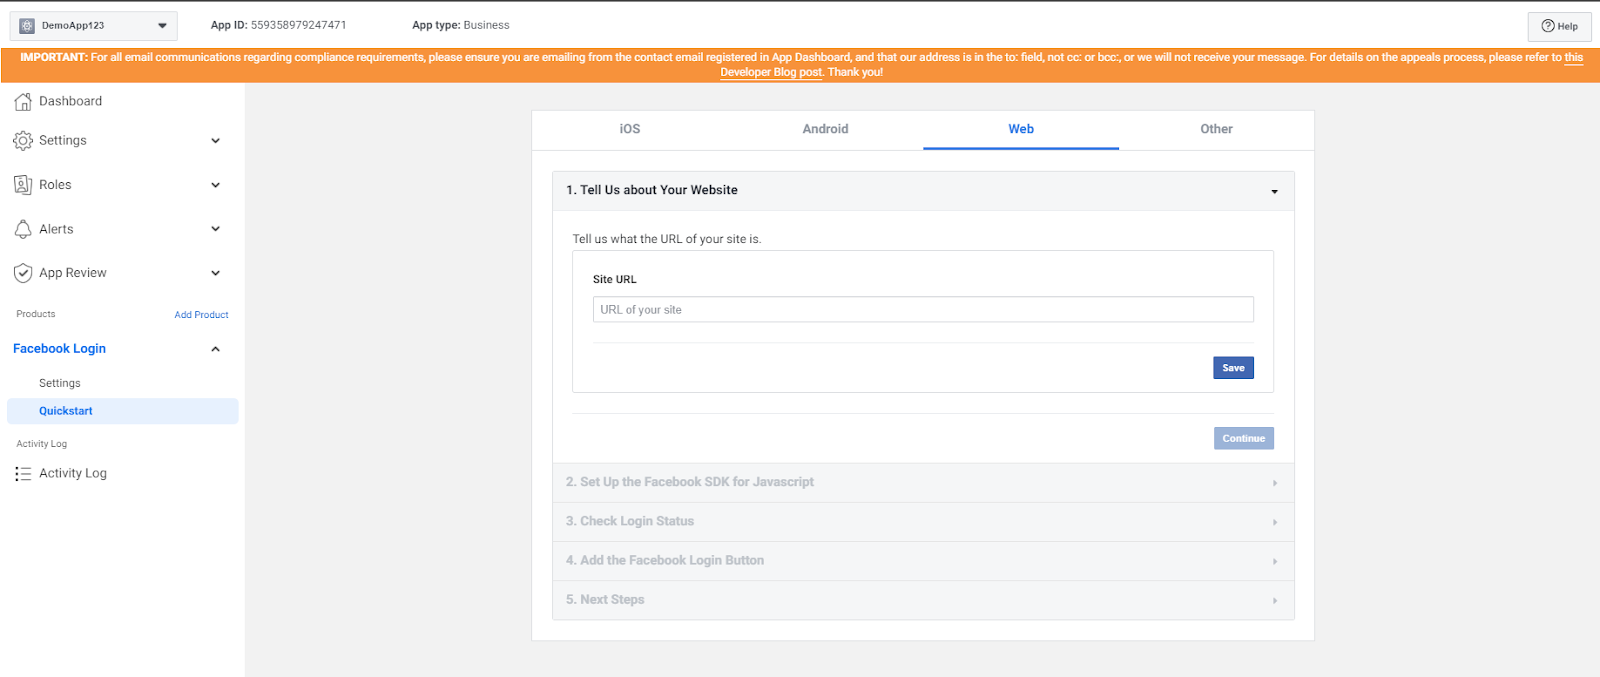
Select the Facebook Login product to Set up. This takes you to the Quickstart page where you have to select the platform.
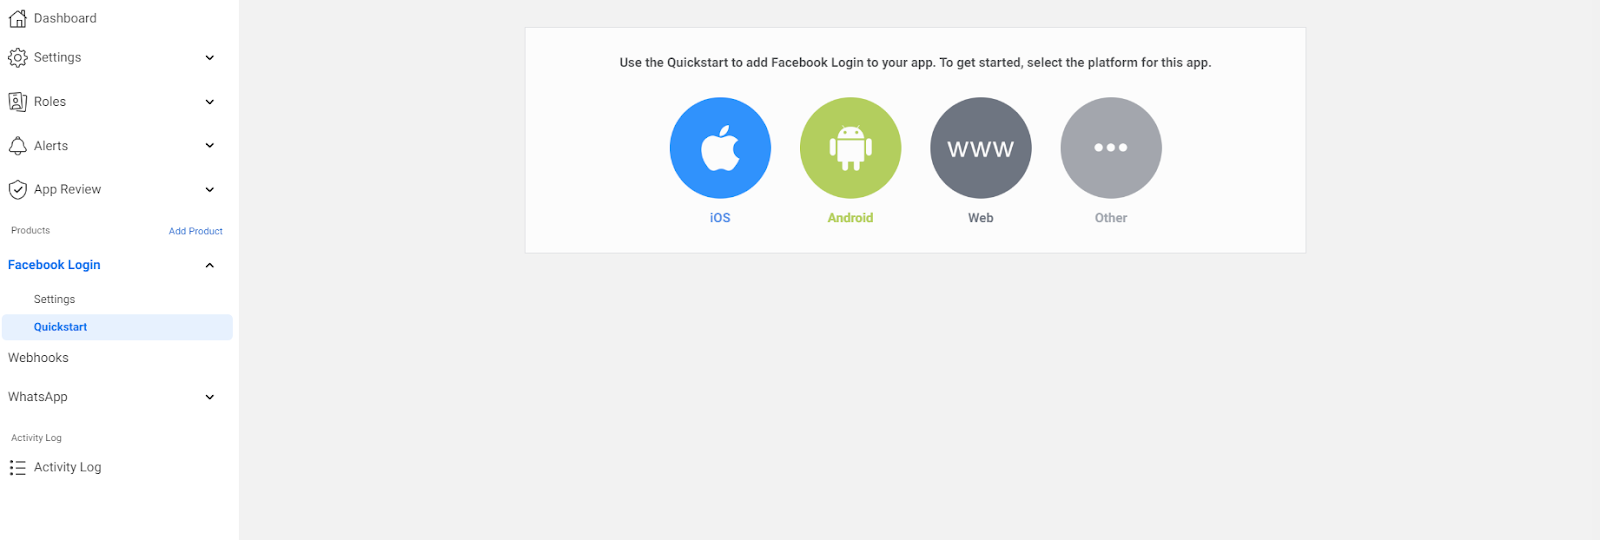
Select Web, provide your Site URL, and click on Save.
Now, go to the Settings page. Under the Valid OAuth Redirect URIs field, add your redirect URL and click on Save Changes.
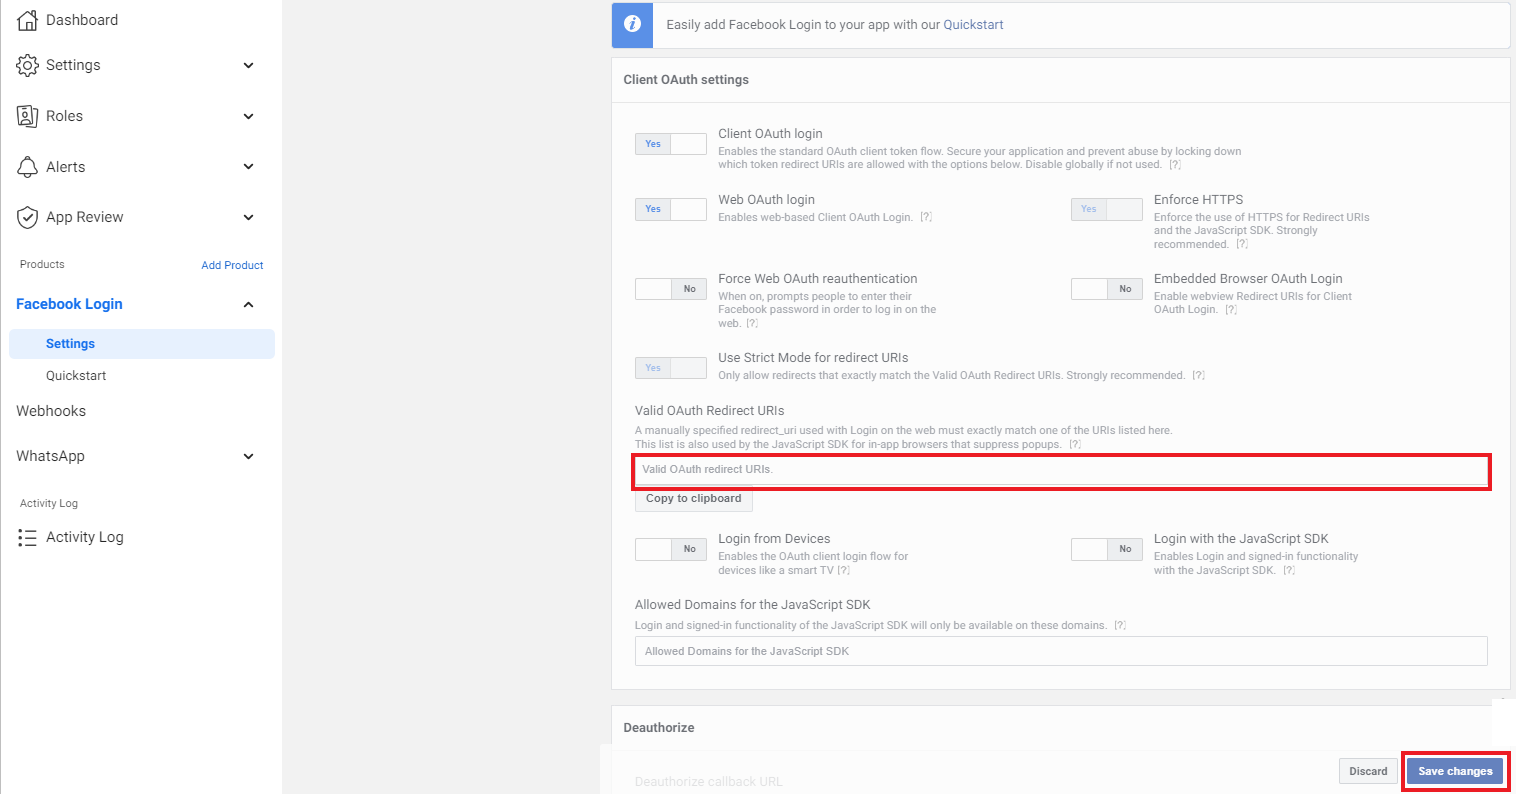
This completes the Facebook Login setup.
Call the Facebook API
To get the OAuth Access Token, firstly, we need to make an HTTP GET request to the Authorization endpoint to get the authorization code. And then we exchange this authorization code with the access token by making another HTTP GET request to the Token endpoint.
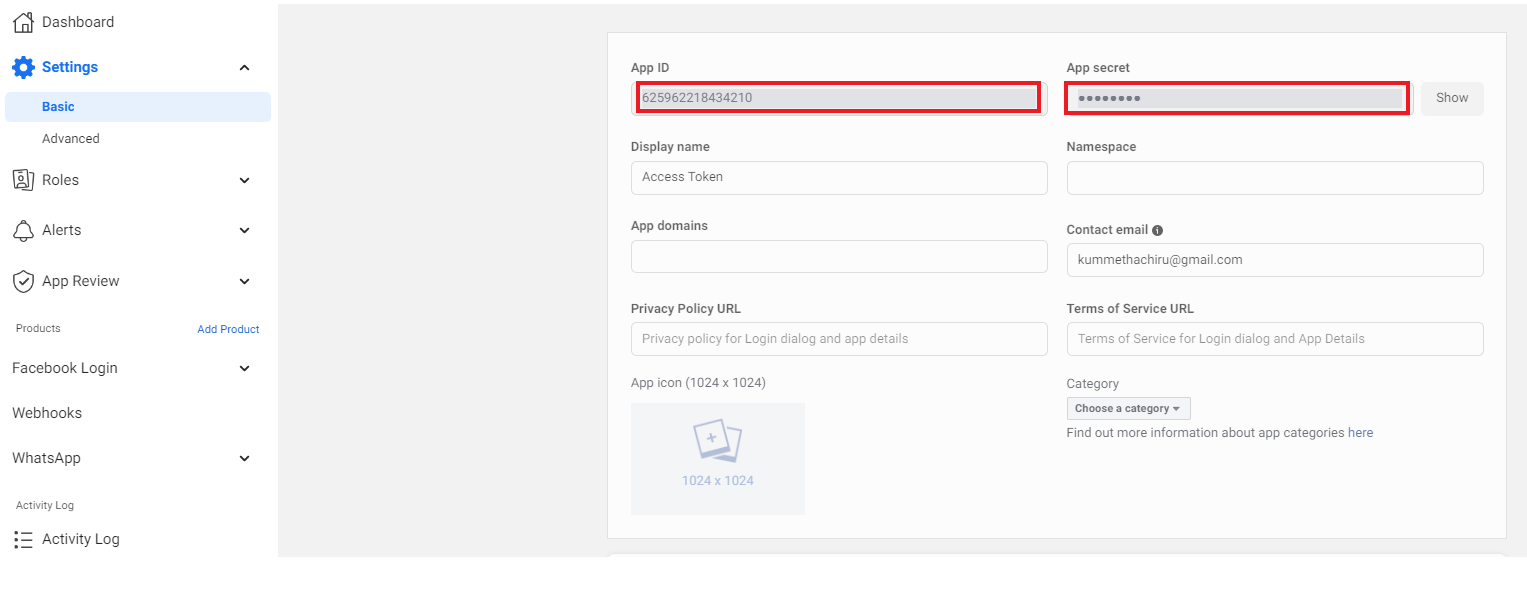
Before doing this, keep your WhatsApp App credentials handy, i.e., App Id and App Secret. You can find these under Settings in the App Dashboard. These are generated on the App is set up.
Below are the Authorization endpoint details with the parameters required.
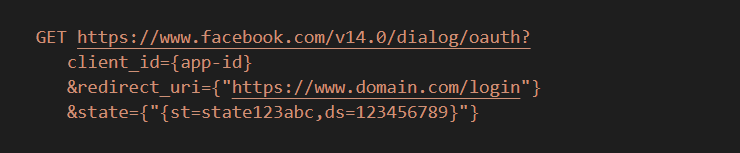
- client_id: This is your WhatsApp App Id.
- redirect_uri: The URL that you want to redirect the person logging in back to. This URL will capture the response from the Login Dialog. As stated above, you must set this URL in the App Dashboard. Under Products in the App Dashboard's left navigation menu, click Facebook Login, then click Settings. Verify the Valid OAuth redirect URIs in the Client OAuth Settings section.
- state: This is an optional parameter. This can be any string value that you can define to maintain the state between request and callback. This state parameter will be used to cross-site request forgery and will be unchanged on our redirect URI.
Once you hit the Authorization endpoint, you will be taken to the login dialog where you have to authenticate with Facebook. Once you allow this request, you will be redirected to the redirect URI with the authorization code.

Now, to get an access token, make an HTTP GET request to the token endpoint:
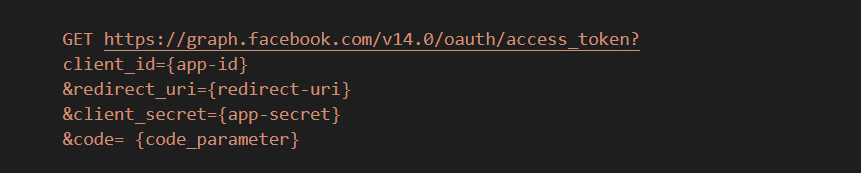
- client_id: Your App IDs.
- redirect_uri: This argument is required and must be the same as the original request_uri that you used when starting the OAuth login process.
- client_secret: Your unique app secret, shown on the App Dashboard. It is extremely important that it remains completely secret as it is the core of the security of your app and all the people using it.
- code: The parameter received from the Login Dialog redirect above.
Below is the success response:
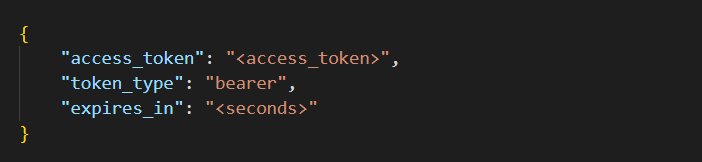
The above access token we got in response is a short-lived user access token. These access tokens will be valid for only one hour and you can debug these access token with Facebook Access Token Debugger. We can get a long-lived token by exchanging this short-lived token. The long-lived user access token will be valid for 60 days.
To get a long-lived user access token, make an HTTP GET request as stated below:

Below is the success response:

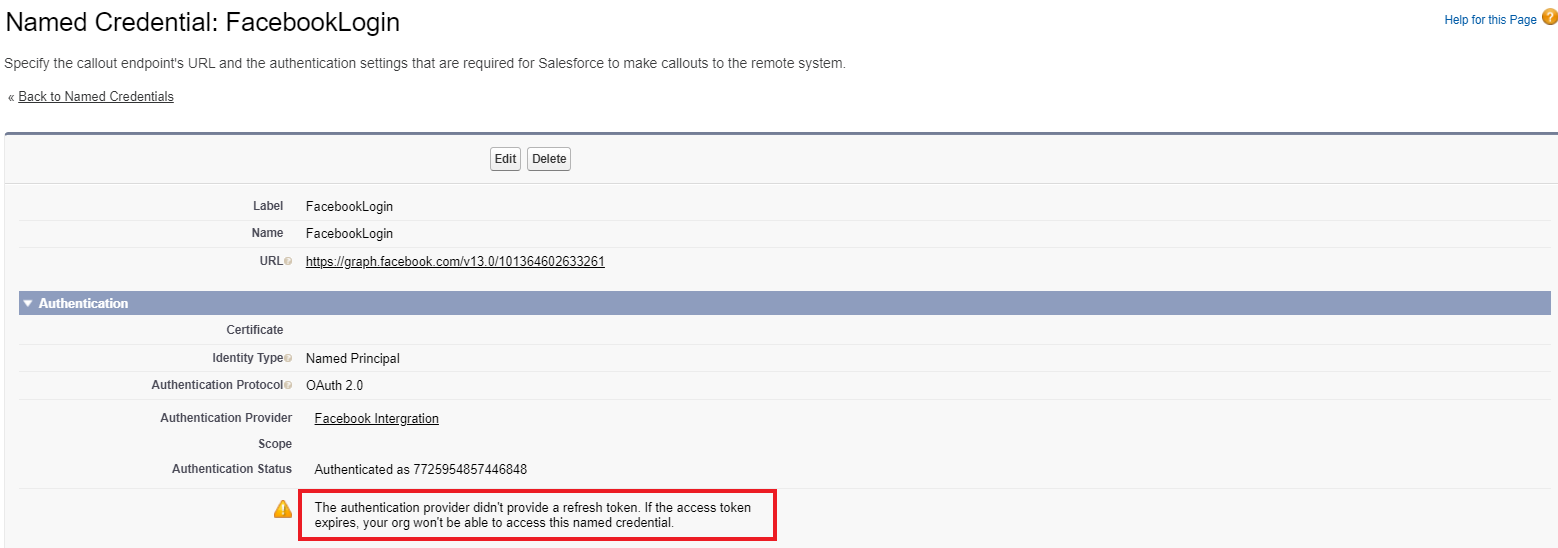
NOTE: We can also achieve this by configuration in Salesforce using Named Credentials with Facebook Auth Provider. But since Facebook does not support refresh access tokens it will throw a warning stating, “The authentication provider didn't provide a refresh token. If the access token expires, your org won't be able to access this named credential”, as shown below:
Conclusion
And thus your thirst for more options when creating access tokens has been quenched! Our exceptional developers have shown you how to create an access token through API using a Facebook login and your gratitude is quite palpable. Remember to come back soon as we dive further into the warm, comforting, some even say soothing, waters of further integration between WhatsApp and Salesforce.
If you are interested in learning more about how we can address your complex business needs through our innovation and thought leadership, please reach out to info@cloudperitus.com or visit our website www.cloudperitus.com.